

Check printing tutorial: design and print MICR checks
A short walkthrough of IDAutomation’s check design and printing software: designing a check, adding the MICR line, calibrating and printing.
How it works
Checks are called labels in the software, so a finished design can be saved as a template and reused.
- Works on blank or pre-designed check stock
- Sample check files are included with the download
- Signature and logo images, incrementing check numbers and date macros
- Link to Access, Excel or CSV data, or build an embedded dataset
- VB Script formulas for the MICR line and amount fields
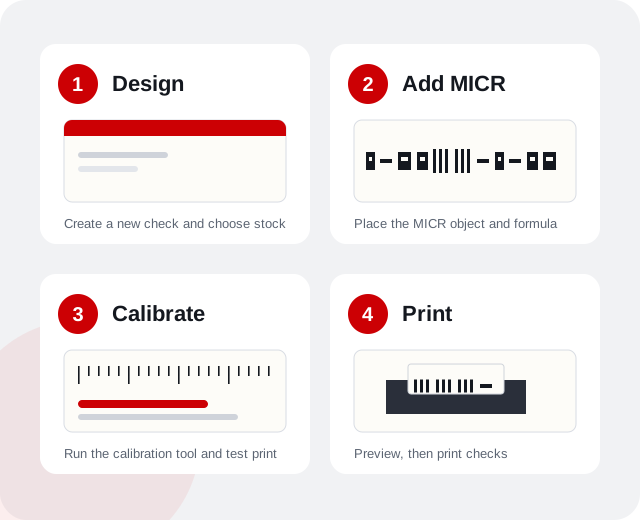
Seven steps to a printed check
Summarized from IDAutomation’s check printing software user guide (opens in a new tab).
- Create a new checkOpen the application and choose Create New Check.
- Choose printer and stockIn Check Options pick the printer, check stock type and unit of measure. Two business-size stocks are predefined (three per page, with or without a 0.5 inch bottom perforation), or define custom stock by rows and columns.
- Add objectsAdd text, MICR and graphic objects from the toolbar. A gray border shows the area the selected printer cannot print.
- Set the MICR valueOn the Value tab, use a VB Script formula to assemble the MICR line from the check fields.
- CalibrateRun the MICR Calibration Tool, print a test page on your actual printer, toner and stock, and adjust the font size on the MICR Properties tab if needed.
- Handle the amountUse the IDAutomation security fonts with a formula in a text object for the amount field.
- Preview and printUse Print Preview, test with a few checks first, set margins to 0 in Check Layout and enter a bottom margin equal to any perforation (usually 0.5 inch).
Software at a glance
| Feature | Detail |
|---|---|
| Operating system | Windows 7 and later |
| Fonts | MICR E-13B Font Package, or the demo for testing |
| Formulas | Add, subtract, multiply, divide, concatenate and line break; label number, total labels, date and time |
| Date macros | Date, time, year, month, month name, day and day name |
| Data sources | Access, Excel, CSV or text columns, or an embedded dataset |
| Object properties | Position, Value (with global prefix and suffix) and MICR Type (font and point size) |
| Label Software Pro adds | Barcodes, more VB Script formulas and a MICR component that needs no installed font |
Frequently asked questions
What is the check design and printing software?
It is a Windows application for designing, creating and printing bank checks on blank or pre-designed check stock. It is free with the purchase of the MICR E-13B Font Advantage Package.
What do I need to get started?
Windows 7 or later and either the MICR E-13B Font Package or the MICR demo for testing. Barcode Label Software Pro can produce MICR without installed fonts.
Where do check numbers come from?
Label fields hold constant values or incrementing numbers. An incrementing field remembers the numbers used in earlier print jobs, so each check gets a unique serial number, and you can reset it to a new starting value.
Can I add a signature?
Yes. Scan or photograph the signature, crop it into its own file, and add it with the Add Image icon. A white or transparent background works best.
Can checks use data from other files?
Yes. Link columns from Microsoft Access, Excel or CSV and text files, or create an embedded dataset inside the label file.
How do I know the MICR line will read correctly?
Use the MICR Calibration Tool and test print with the same printer, toner and stock you will use for production, then fine-tune the point size if needed.
Try it with the demo
Download the demo to test your printer setup before you buy.